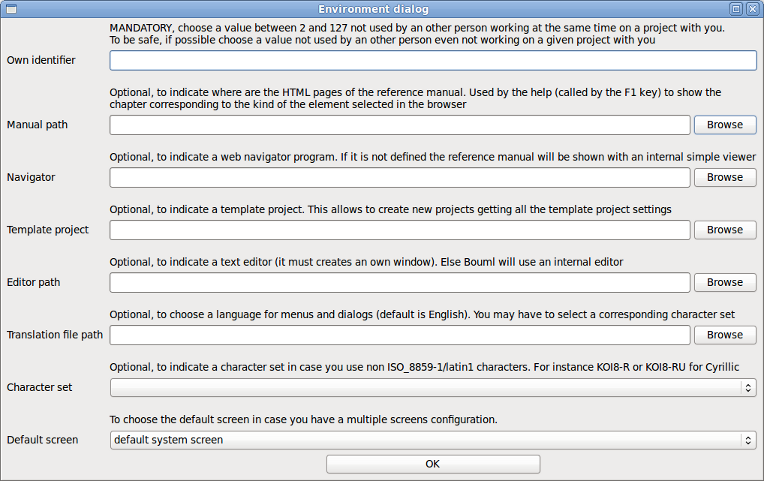
When you execute BOUML for the first time the environment dialog is shown, you must enter an own identifier (Multi users considerations). The other information are optional, note you can specify a default screen in case you have a multiple screen configuration, and a character set if you want to use non latin1 characters.

After this annoyance you may use BOUML, open an already created project, or create a new one.

The bouml window is composed of three parts :
The left sub-window display a browser presenting your project, the navigation may be done by the mouse or the keyboard's arrows. The bold font is used when an item is modifiable, an item is read-only when you do not have the write permission for the file(s) supporting it (see project files). The system items supporting the plug-out's API (for instance UmlBaseActor) are also read-only.
The bottom-right sub-window is used to display/modify the comment associated to the current selected item.
The top-right part is used to display/modify the diagrams, these ones may be maximized or minimized.
![]()
A project creation is done through the entry new of the project menu.
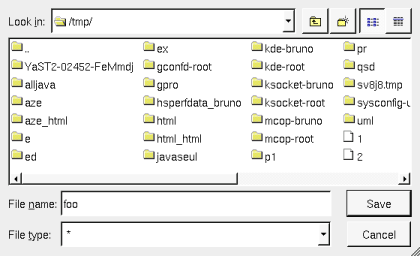
When you create a new project, a file dialog appears (its aspect depend on the used system and window manager) and you have to select the directory where the project will be placed and its name, for instance in /tmp (probably just for a trial !) with the name foo.

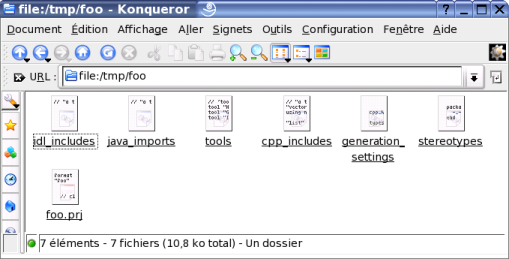
In this case BOUML create the directory foo under /tmp, and place some files in /tmp/foo including foo.prj which represents the project (see project files) :

Do not rename or delete the files produced by BOUML nor the directory itself !
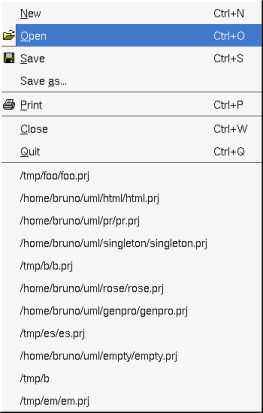
You may associate a .prj file to bouml using your window manager capabilities, call bouml through a command line given the .prj file (see project files) in argument, or launch bouml then load a project using the project menu or the open icon, or the historic (the historic is saved in the file .bouml placed on your home directory) :

![]()
Previous : bouml
Next : top level menus